When most homeowners think about exterior painting, they picture the finished result — fresh color, clean trim, a house that looks sharp from the street. What they rarely see is everything that happens before a single coat goes on.
Understanding how exterior painting projects are planned gives you a clearer picture of what a professional operation actually looks like. It also helps you set realistic expectations, ask better questions when getting estimates, and recognize the difference between a contractor who has a process and one who is winging it.
A well-planned exterior painting project does not start with paint. It starts with a thorough assessment, a defined scope of work, and a schedule that accounts for weather, materials, and preparation time. Each stage builds on the last, and skipping any one of them creates problems that show up later — in peeling paint, missed surfaces, or a finish that does not hold.
This post walks through how exterior painting projects are planned from start to finish, so you know exactly what a professional process looks like before work begins.
What a Professional Exterior Assessment Actually Covers
The planning process does not start with a color consultation or a materials list. It starts with a painter walking the property and taking a close look at what they are actually working with.
A professional exterior assessment is more thorough than most homeowners expect. The goal is accurate information about every surface before any decisions about scope, materials, or timeline are made.
Here is what painters are typically evaluating during this stage:
- Surface condition: Is the existing paint peeling, cracking, or chalking? How much of it needs to be removed before new paint can adhere properly?
- Wood and substrate integrity: Are there soft spots, rot, or areas where moisture has already done damage? These need to be addressed before painting begins.
- Caulking and seams: Are gaps around windows, doors, and trim sealed? Failed caulking lets moisture in and causes paint to fail faster.
- Adhesion problems: Are there areas where previous paint is lifting or bubbling? This points to underlying issues that prep work will need to resolve.
- Surface type: Wood, stucco, fiber cement, and masonry all behave differently and require different products and approaches.
This step is about diagnosis, not upselling. A painter who skips a thorough assessment is either guessing at the scope or planning to figure it out as they go. Neither is a good sign.
Everything found during the walkthrough feeds directly into defining the full scope of work.
How Painters Determine the Scope of Work
Once the assessment is complete, the findings get translated into a defined scope of work. This is where the project stops being a general idea and becomes a specific plan.
Scope defines which surfaces get painted, what repairs are needed, what prep is required, and what materials will be used. A clearly defined scope is what makes an estimate accurate rather than approximate.
A few things that shape scope decisions:
- Surface coverage: Which areas are being painted and which are not? Siding, trim, shutters, doors, and accent elements may all be handled differently.
- Repair requirements: Any rot, damage, or adhesion issues identified during the assessment get factored into the scope as line items, not surprises.
- Prep requirements: The extent of pressure washing, scraping, sanding, and priming needed is determined here, not on the first day of work.
- Material selection: Product type, finish, and the number of coats required are all part of scope, and they affect both cost and timeline.
This level of detail matters for the homeowner as much as it does for the painter. A detailed scope means you know what you are paying for, what will be done, and what the finished project will include.
It also prevents mid-job changes to price and timeline caused by details that were missed upfront.
How Scheduling and Prep Are Coordinated
With the scope defined, the next step is building a schedule that actually works. Exterior painting is more dependent on conditions than most home improvement projects, and scheduling has to account for that.
Weather is the biggest variable. Temperature, humidity, and rain all affect how paint applies and how it cures. Most exterior paints require surface temperatures within a specific range and dry conditions for a set period after application. A schedule that ignores those requirements produces a finish that fails faster.
Beyond weather, painters are coordinating several moving parts:
- Crew availability: When can the right people be on site, and for how long?
- Material lead time: Are any specific products being ordered, and do they need to arrive before work begins?
- Prep sequencing: Pressure washing, repairs, caulking, and priming all need to happen in order, with adequate dry time built in between each stage.
- Cure windows: Some repairs and primers require a full cure before paint can go over them. Rushing this step affects adhesion.
A well-coordinated schedule is not just about start and end dates. It maps out the sequence of work so that each stage is completed under the right conditions and surfaces are ready when the painter needs them to be.
Homeowners sometimes underestimate how much coordination goes into exterior painting project planning before anyone picks up a brush. This is where that work happens.
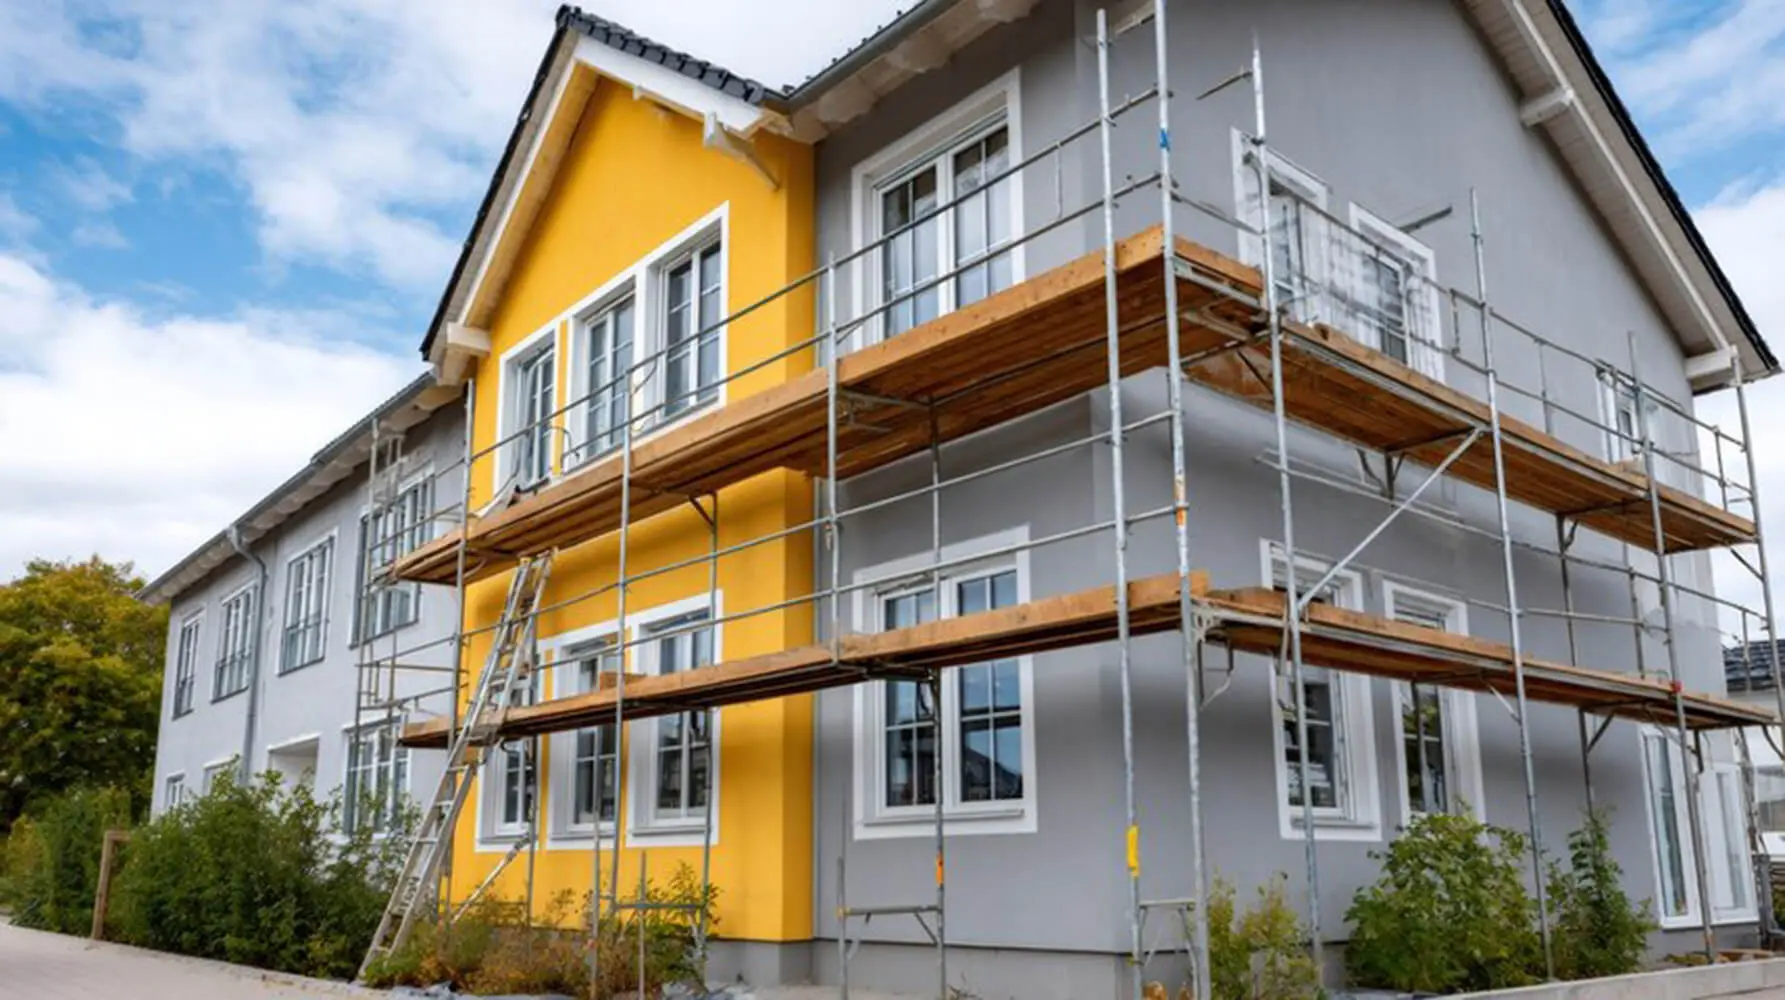
What Happens Before the First Coat Goes On
Prep is the most labor-intensive part of any exterior painting project. It is also the part that most directly determines how long the finished job will last.
By the time a painter picks up a brush or sprayer, a significant amount of work has already been completed. That work is what allows the paint to adhere properly, look clean, and hold up against weather over time.
The process starts with pressure washing. Every surface gets cleaned to remove dirt, mildew, chalk, and loose paint, and the exterior painting preparation process begins well before the first coat is ever considered. Paint applied over a dirty or contaminated surface will not bond correctly, which is why pressure washing before exterior painting is a non-negotiable first step.
Once the surface is clean, scraping and sanding remove any remaining loose or peeling paint. Edges are feathered so the new coat lays flat without visible ridges or buildup.
From there, repairs are completed. Damaged wood gets patched or replaced, cracks and holes are filled, and caulking is applied to gaps around trim, windows, and doors. None of this gets skipped on a properly scoped project because it was all identified during the assessment.
The final prep step is priming. Bare wood, repaired areas, and surfaces with known adhesion issues all need primer before topcoats go on. Primer is not optional in these areas. It seals the surface, improves adhesion, and ensures the finish coat performs the way it should.
A well-planned project means this entire sequence moves efficiently. The painter is not figuring it out as they go. Every prep requirement was accounted for before the schedule was built.
How the Project Moves From Prep to Execution
Once prep is complete and surfaces have had adequate time to dry and cure, the painting phase begins. But even at this stage, a well-planned project does not just jump straight into application. There is a confirmation step first.
Before any paint goes on, the painter verifies that conditions are right. Surface moisture levels are checked, repairs are confirmed to be fully cured, and weather forecasts are reviewed to make sure the application window is clear. This is a brief step, but it matters. Applying paint to a surface that is not fully ready undermines everything that came before it.
When application begins, the sequence is deliberate:
- Trim and detail work first: Cutting in around edges, windows, doors, and accent areas requires precision and is easier to control before the broad surfaces are painted.
- Siding and main body surfaces: Once trim is complete, larger surfaces are painted using the method best suited to the material, whether that is brushing, rolling, or spraying.
- Final inspection and touch-ups: After the primary application is finished, the crew walks the property to identify any missed spots, uneven coverage, or areas that need a second pass.
Quality checks are not something that happens at the very end. They are built into each stage so issues are caught and corrected as the project moves forward.
The finished result a homeowner sees from the street reflects every decision that was made during planning. The assessment, the scope, the schedule, the prep — all of it feeds into what the final coat looks like and how long it holds.
What to Expect When You Work With Marsh Paint Co.
A professionally planned exterior painting project follows a clear sequence from start to finish. It begins with a thorough assessment of the property, moves into a defined scope of work, accounts for scheduling and weather conditions, works through a structured prep process, and finishes with a deliberate application sequence built around quality at every stage.
That sequence is not accidental. It exists because each step depends on the one before it. Skipping or rushing any part of the process creates problems that show up later, usually in the form of premature peeling, uneven coverage, or repairs that were never properly addressed.
Understanding the planning process behind exterior painting projects helps homeowners recognize what a professional operation looks like and what questions to ask before work begins. The goal is not just a fresh coat of paint. It is a finish that holds up, looks right, and protects the home for years.
If you are planning an exterior painting project and want to know what the process looks like for your specific property, Marsh Paint Co. is ready to help. The first step is a site assessment where the team evaluates your surfaces, identifies what the job will require, and puts together an accurate scope of work.
Reach out to us to schedule your assessment and get a clear picture of what your project will involve before any work begins.